Most color grading tutorials are lying to you. Not intentionally, but they’re teaching you skills that don’t matter in the real world. They teach you how to create different looks, cinematic grades, moody styles, popular color palettes. That’s the easy part. What they don’t teach you is what professional colorists actually do 90% of the time. Today, I’m going to tell you the truth about this job - and it’s probably not what you think.
As usual, if you prefer to watch the content, here’s the video version. Otherwise, keep reading below!
The Stock Footage Problem: Why Tutorial Footage Doesn’t Represent Reality
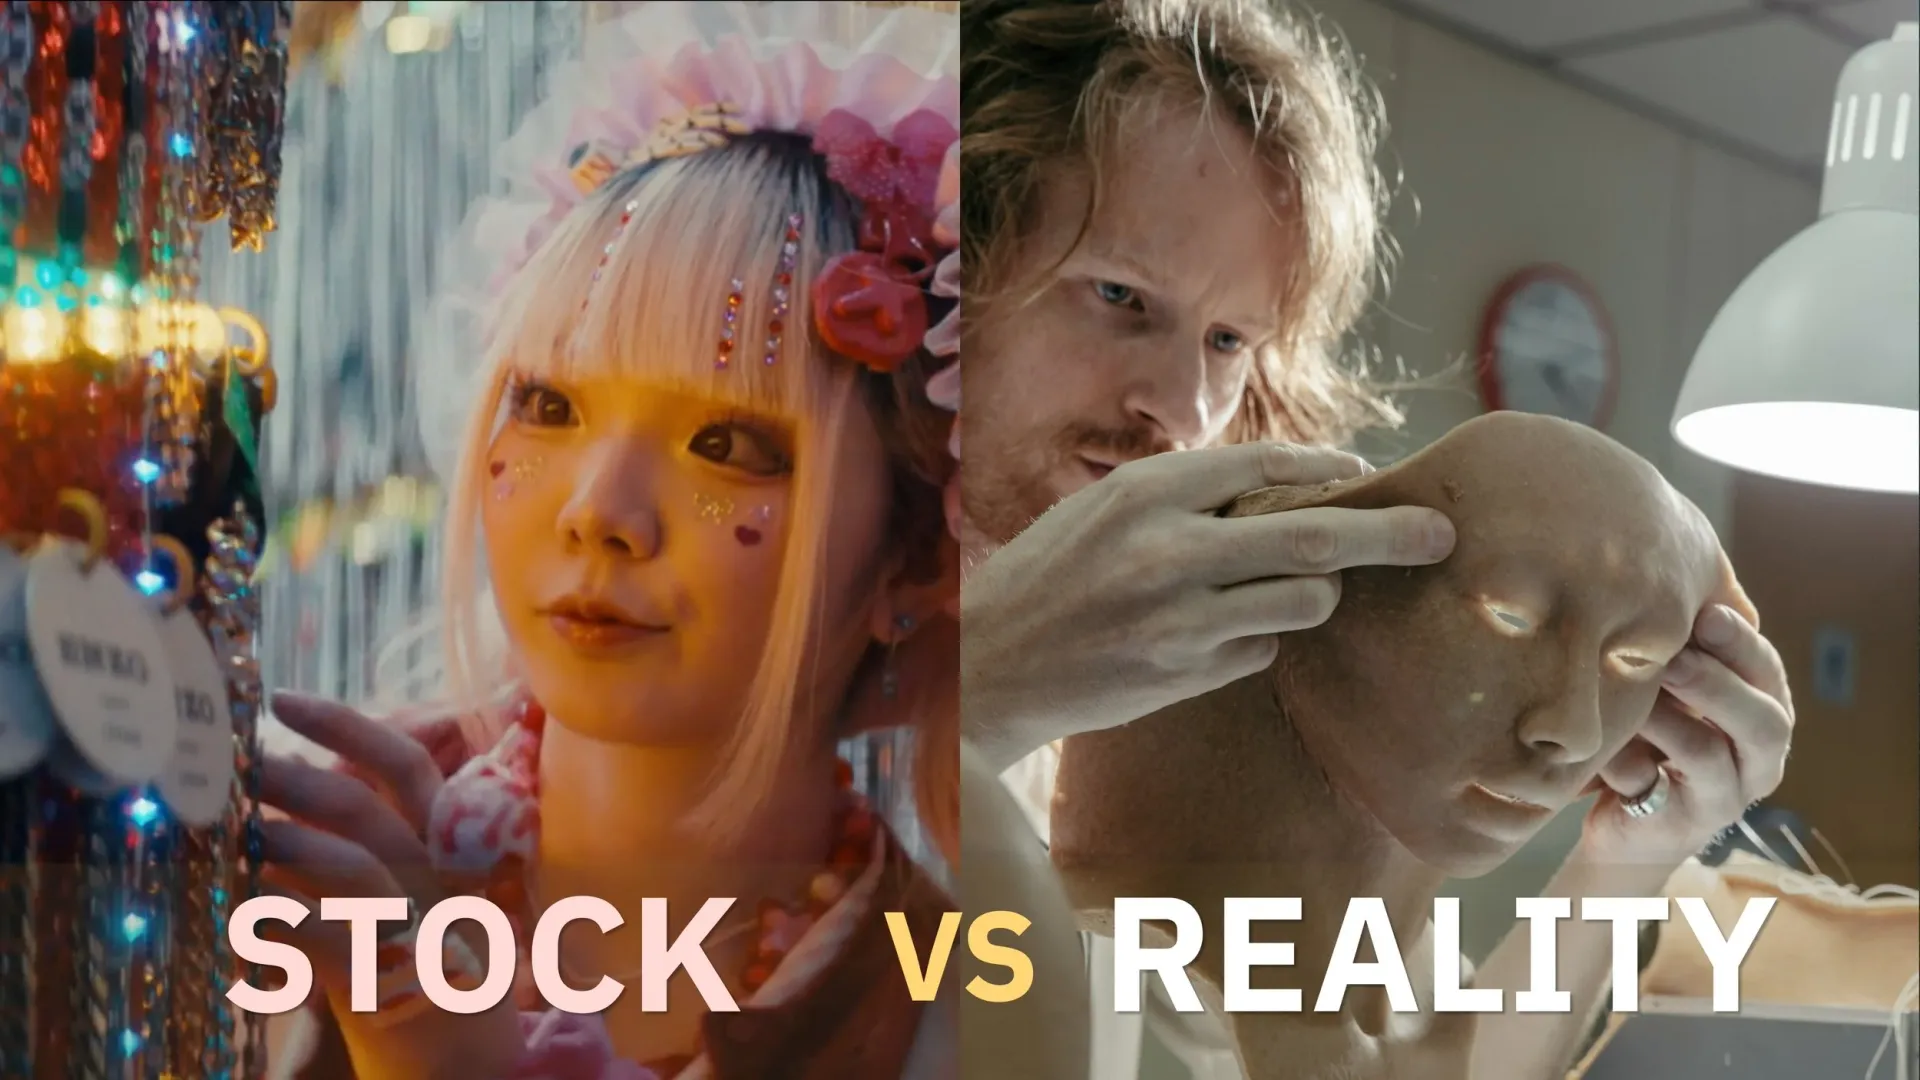
Here’s the issue I see with most color grading tutorials out there: they use stock footage to demonstrate techniques and tricks. Stock footage is archival footage shot for the purpose of being sold publicly. The most common archive is Artlist, which allows you to download RAW and Log footage, which seems perfect for learning color grading, right?
Wrong. Because these clips do not represent reality.
Stock footage is made by professional videographers who had no external pressure and organized their shoots in the best possible conditions. They decided to shoot what they already had in mind, they decided the timing, the place, and every aspect of it. Without any limit from the outside, any weird request from a client, or time or spatial restrictions. These videos are made in a bubble where the videographer is pretty much in control of every aspect.
This almost never happens in real life. In real-world scenarios, you have a client who dictates some parts of the shoot. For example, you may be forced to shoot in their headquarters with internal employees instead of actors. You have budget limitations, you have time limitations, which is mostly self-imposed because you don’t want to work for too long when your budget is set. When you’re shooting, you have to make sacrifices and compromises on the quality of the footage in order to achieve a goal that is fundamentally not yours: it’s your client’s, and you’re only interpreting it.
Archival footage does not have any of these issues.
Plus, there’s staff selection. In most of these sites, there’s a staff that selects the footage you upload and only picks what fits in the archive’s editorial line. For example, Artlist is very focused on cinematic quality, so most of the footage you’ll find will be shot with high-quality gear and good composition taste. So whatever you’re going to download is going to look great. Whatever you do on it.
And that’s the real problem: you can do any color grade on these clips and they will still look great. You can mostly only do damage if you’re not careful. So if you grade starting from stock footage, you might get excited because it’s a quick way to achieve looks and learn about different types of grades, but at the same time these clips do not teach you anything about the reality of being a professional color grader.
So let me tell you what actually matters, by looking at what a professional colorist actually does most of the time.
What Professional Colorists Actually Do
First: Turning Ugly Footage Into Something Presentable
Let’s start with the first great task, which is to be able to make bad-looking footage look somewhat presentable.
This is far more difficult than finding and applying a grade to anything that already looks great.
Let’s say that your videographer shot in a location that was poorly lit, or that he was in a rush, or the space was not arranged properly, but you still have to find a way to make these clips work, regardless of the issues that they have.
And here is where the craft shows, because if you know your theory and your program well, you’ll have many tools and many different ways at your disposal to approach the problem.
There’s a great tutorial by Darren Mostyn about this topic, which I suggest you watch.
Second: Color Matching—What You’ll Do 90% of the Time
This brings me to what, in my view, makes a colorist really professional. It’s not making crazy complex grades, because let’s face it: most of the work you’ll get is going to be very basic, in very normal-looking footage. What makes you professional is being able to make clips shot at the same time with very different gear look as close as possible.
Color matching is what you are going to do for 90% of the time. This means getting different footage from different cameras, or sometimes very different footage from the same camera and the same location but from a different angle that makes the gear behave in a different way, and making each shot look as close as possible to the one before and the one after, to create a coherent-looking scene.
And this is not just a matter of adjusting colors or overall contrast. It requires analyzing the details of how light interacts in midtones, matching the dynamic range and color representation. Each camera manufacturer uses slightly different color filters in their sensors, which means the same scene can look very different depending on what gear you’re using. This is why professional cinematographers often choose ARRI cameras: their color science is consistent and produces great-looking images right out of the camera.
But in the real world, you often don’t get to choose. You have to match whatever footage you’re given.
Luckily, there are many tools that can help you in this clip matching journey, and I’ve talked about a few on the channel. But there is a great variety of things that you have to learn before you’re comfortable, and the only real trick here is to practice.
Third: Serve the Story
Then, when you’re done with your training and you’re a professional, you’ll finally be able to express yourself in color. But your final goal is not going to be to make great-looking images. It will be to serve the story well.
Great color grading doesn’t just add style to a project. Great color grading is a tool to guide the audience’s eye in the right direction, which can mean many things. It can mean shifting attention to part of the image that is brighter. It means hiding things in the shadows and making them visible or barely visible. It means representing, in color and saturation, the mood of the scene you’re watching and shifting as the story evolves.
Most of the time, you notice color grading when it makes a scene pop out and be more emotionally effective.
How to Actually Learn Color Grading
So this is the final point: take your time to learn the tools, and especially to train your eye to see subtle differences in color, contrast, and luminance. Then, take your time to be able to know how to change all these aspects. Being a good colorist requires a lot of time and a lot of experience.
I’d like to make a list of a few approaches that can actually help you start your journey.
-
Work With Real Footage
The first suggestion is to find a friend or a colleague who has archival footage of their own and try your hand at that footage. Try building a few timelines, finding a grade, and applying it consistently all over the timeline. The footage you’ll find will likely be less polished than stock footage, so it will be a great learning tool.
-
Find Professional In-Person Training
Secondly, try to find a professional paid class, in person, on color grading. YouTube is full of tutorials made by people who never worked a day in their life professionally.
-
Shadow a Professional Colorist
If you have the opportunity to sit next to a professional colorist, do so for a few days and try to see if the job fits your personality. As with any job, there are dull times, and you need to enjoy those as well.
Additional Tips and Best Practices
Then, here are a few more tricks and things to keep in mind:
- Start simple: Don’t add too many effects and do not use too many secondaries. They will make your workflow much slower and messier.
- Learn a couple of tools that you like, and stick to them. There’s no need to know every option in the program or to keep updated on every new feature. You’re mostly good to go by just knowing how to use the wheels and the HSL masks and power windows. You’ll find tutorials on both topics on this channel.
- Take many breaks. Every 20-30 minutes or so, stand up from your desk, drink some water, look outside. It is very easy to lose yourself in the process and lose perspective on what you’re doing. Eye fatigue is definitely a factor: when you work on something for too long, you tend to exaggerate. After you take a break and rewatch it, you forget a little about it, so it is easier to compare it to other projects and fine-tune the exaggerations.
- Sleep on your grades. On the same logic, the next morning, watch again what you did and it will be much easier to see and fix the problems.
- Do what you like, not what you see other people doing. Color grading is very subjective and there’s no definitive way of doing it, so just try to make something you enjoy and find your own style. If you have a personal style, it will be much easier to get work in the future.
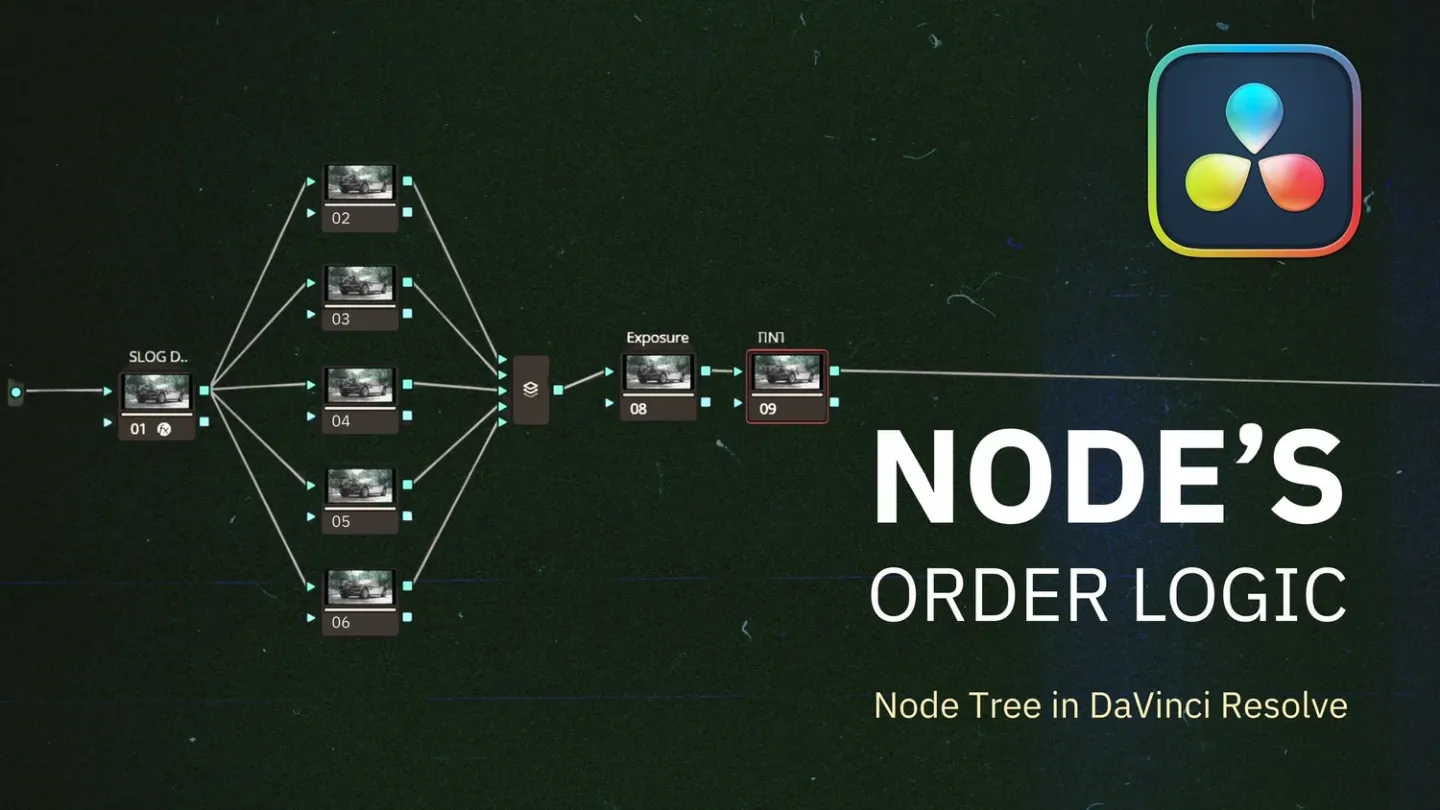
Now, if you want to actually start doing this stuff, go watch my video on node trees. That’s where you begin.